Open index.html to begin editing it.
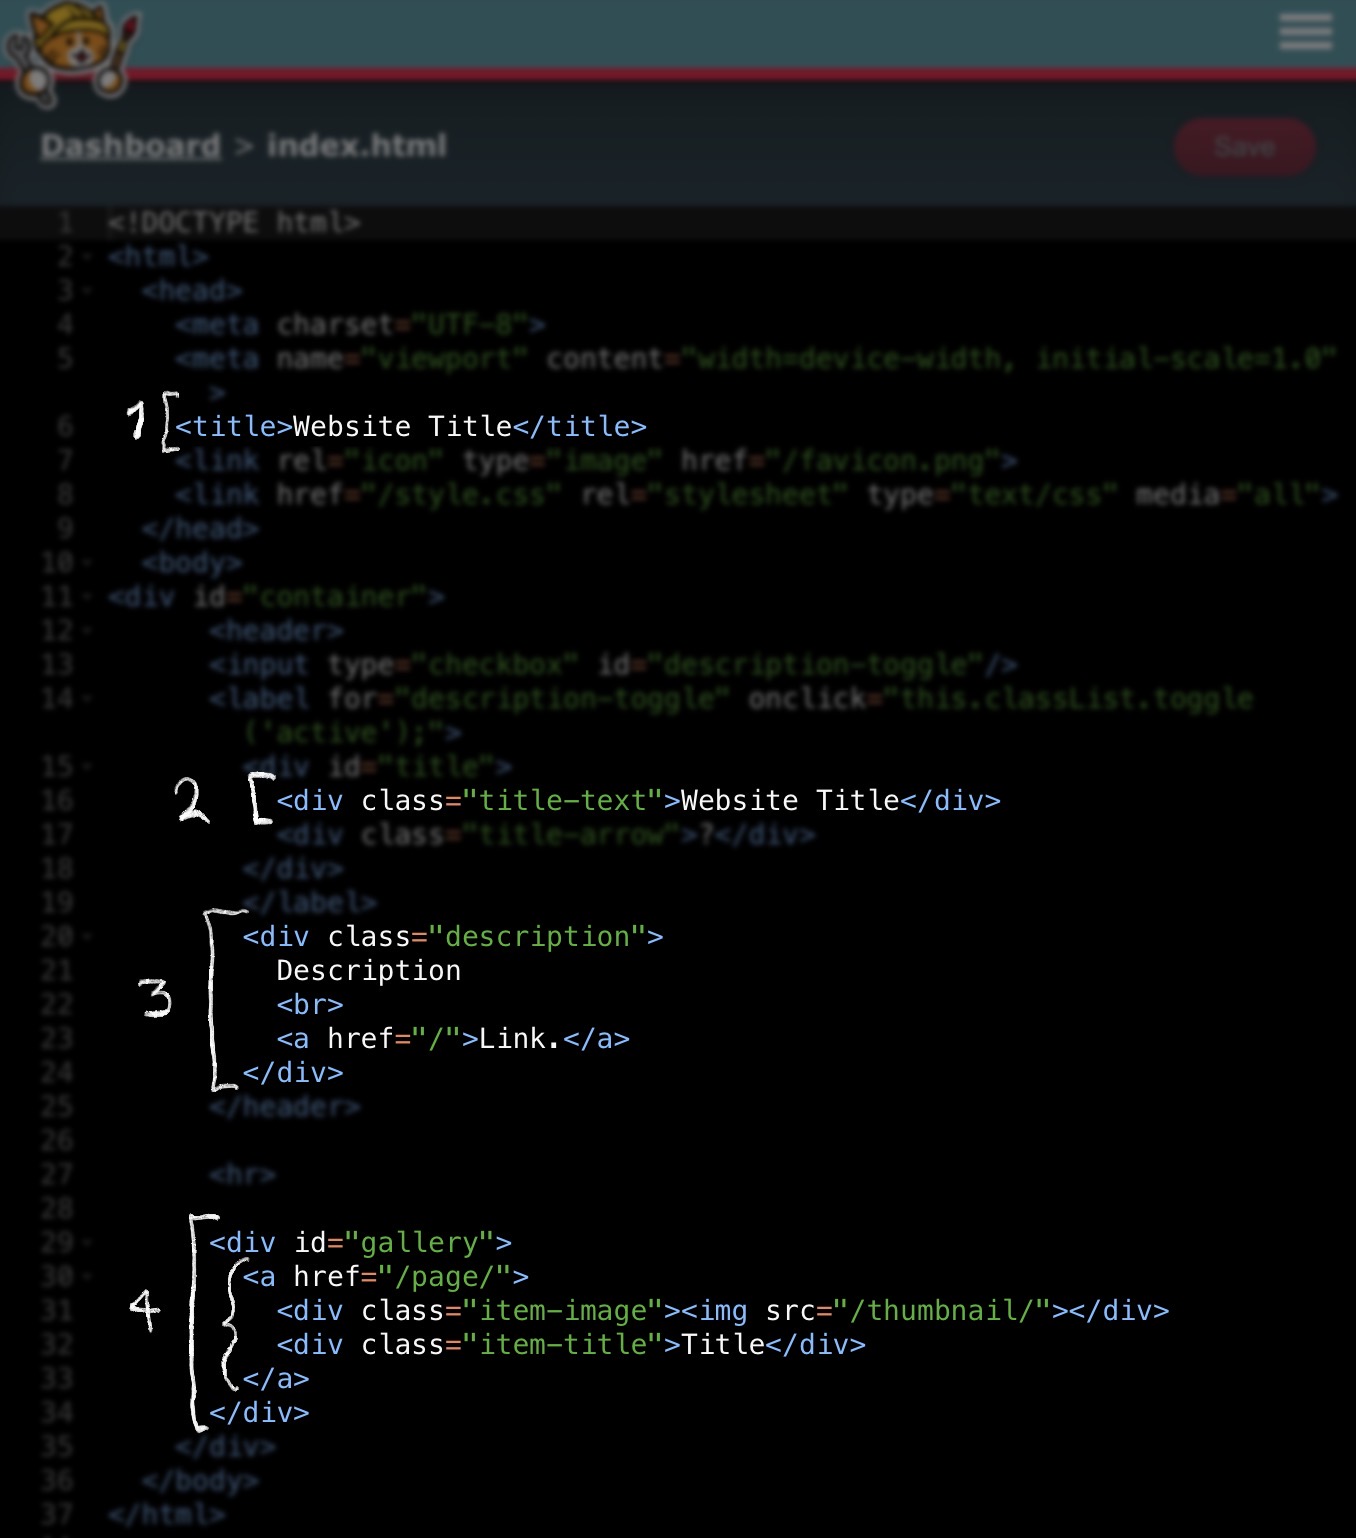
1. Tab title
<title>Website Title</title>2. Header title
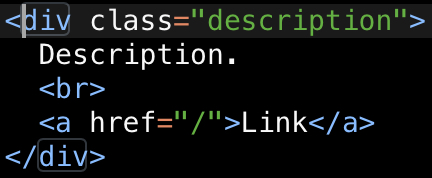
<div class="title-text">Website Title</div>3. Description
<div class="description">
  Description
  <br>
  <a href="/">Link.</a>
</div>What you write here will only appear on this page. It will not automatically be copied to other headers on your site.
<br> is a linebreak.
<a href="/">Link.</a> is a link.
Right now, it goes to the homepage because it is set to "/" [the root folder on your website.]
When changing the URL to a page on your site, you do not have to add the domain, ex.:
https://utopianscrapbook.neocities.org/about
or
https://utopianscrapbook.neocities.org/page/william
Instead, begin the URL at the path.
If linking outside of your website, make sure to include everything.
If you only have links in your description, you can add style="text-align:right" to the end of <div class="description"> in order to imitate a dropdown menu.
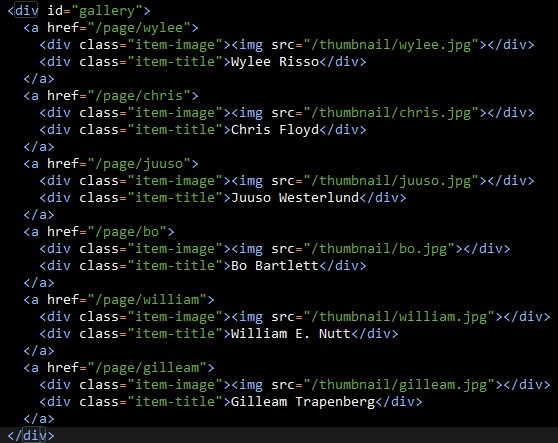
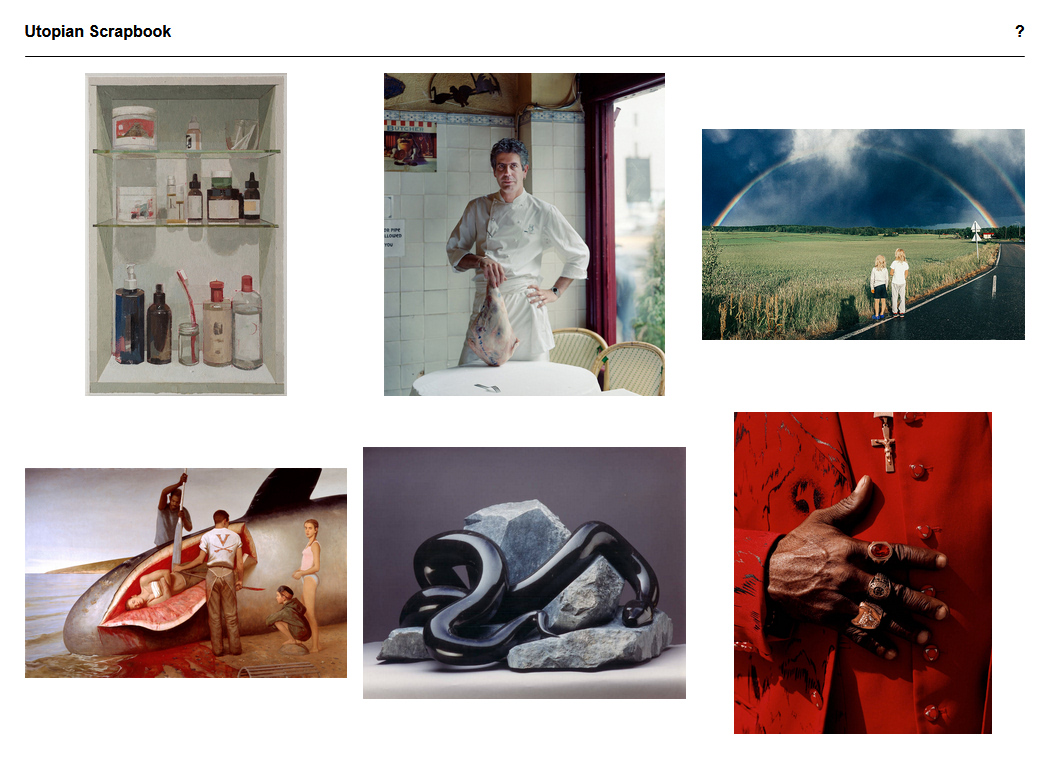
4. Gallery
<div id="gallery">
  <a href="/page/">
    <div class="item-image"><img src="/thumbnail/"></div>
    <div class="item-title">Title</div>
  </a>
</div><div id="gallery">
[Items...]
</div><...>
<a href="/page/">
[Image]
[Title]
</a>
</...>To edit the link, change "/page/" to whatever URL you want.
It doesn't necessarily have to be a URL in your page folder. For instance, you can link to another gallery, or something external like a shop.
To edit the image, change "/thumbnail/" to the URL of your image.
Ideally, the image should be small (400px to 800px on its shortest side, and a .jpg), and kept in the same folder as the rest of your thumbnails.
However, the image can be any size or ratio. By default, it will be cropped to a square.
To edit the title, change "Title" to whatever you want.
You can delete this entire line if you don't want an item to have a title.
To change the aspect ratio of images, you can add this up top, on the line right after
<body>:
<style>
  .item-image{
    aspect-ratio:1/1;
  }
</style>
Then, edit 1/1 to whichever aspect ratio you want.
To show the whole image within its container, you can add this within the <style>...</style> tags:
.item-image img{
  object-fit:contain;
}
By default, object-fit is set to cover.
You can hide titles by adding this within the <style>...</style> tags:
.item-title{
  display:none;
}
This is the entire code for the custom styling in the image for this section:
<style>
  .item-image{
    aspect-ratio:1/1;
  }
  .item-image img{
    object-fit:contain;
  }
  .item-title{
    display:none;
  }
</style>


