Setup:
Go to the Template folder, and open up 'single.html'
Copy all of the code in this file.
Go to the Page folder, and create a new file.
Name the file what you want to have appear at the end of the URL, ex.: 'drawing.html'
Note: the .html part will automatically be removed by Neocities when visiting the page, but the file extension is still required when creating it.
Paste the code in the new file.
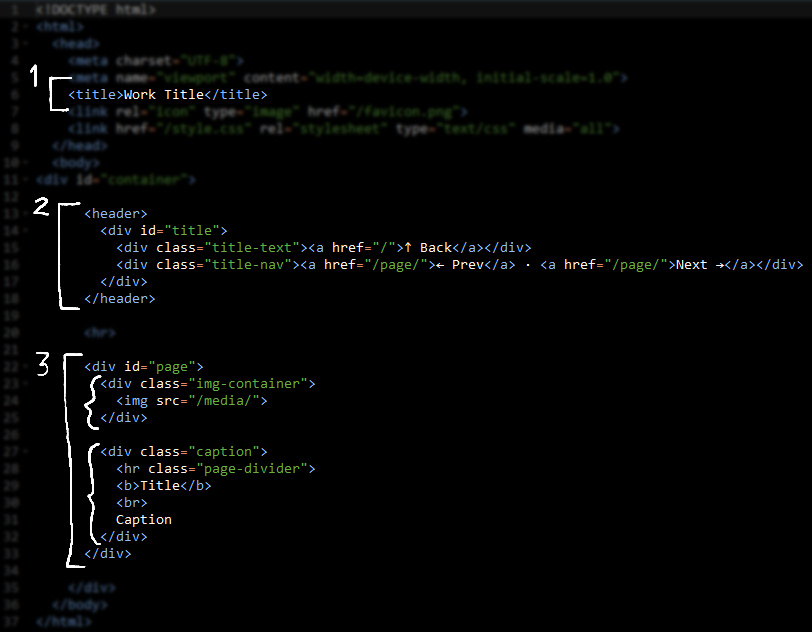
1. Tab title
This appears in the browser tab. Replace "Work title" with whatever you like.
2. Navigation header
This appears in the header on the top of this page. There are two parts you need to change for each page.
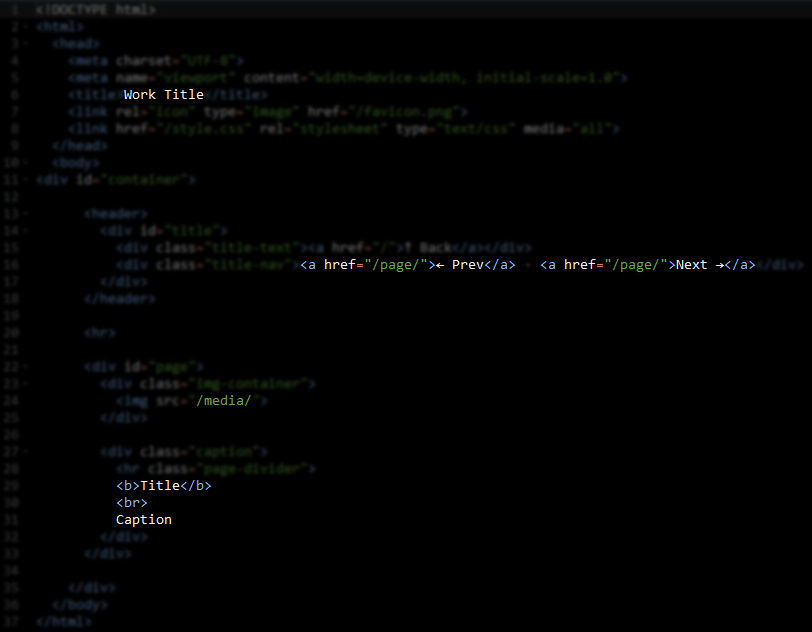
This part links to the previous page:
<a href="/page/">← Prev</a>This part links to the next page:
<a href="/page/">Next →</a>Change the /page/ path in each part to the right link.
3. Image and Caption
These are the parts between <div id="page"> ... </div>.
On desktop, this section will appear as two columns.
On mobile, it collapses into one column, and images/caption text is centered.
If you want to prevent caption text from being centered, change <div class="caption"> to <div class="caption-always-left">
To change the image, update /media/ to the right image address, ex.: /media/testimage1.jpg
<hr class="page-divider"> is a special divider that is hidden on desktop, but appears on mobile.
To change the caption, you can update 'Title' with your work's title, and 'Caption' with something like the medium, date, dimensions, and/or commissioner information.
If you want to write something longer with paragraph breaks, here's an example:
<b>Title</b>
<br>
<i>Date, Medium, Dimensions</i>
<p>Line 1</p>
<p>Line 2</p>
<p>Line 3</p>
Here's how that code would be displayed:
TitleDate, Medium, Dimensions
Line 1
Line 2
Line 3

